I built my first cockpit back in 2005. It was just for getting into the right position for driving and didn’t actually model any race car.

After seeing some pics of Huxford’s Ferrari and browsing various articles on building a cockpit on forum.racesimcentral.com I decided to built another cockpit, but this time it should not only feel, but also look like a race car. As I’m enjoying GPL so much i decided to make an old car of that era. The Honda RA300 was the biggest car in F1 these days and so I thought i would have plenty of room in there. No way, there is not much place in the cockpit now. (I still can’t understand how Brabhman fitted into his own car which was so much smaller then the Honda)
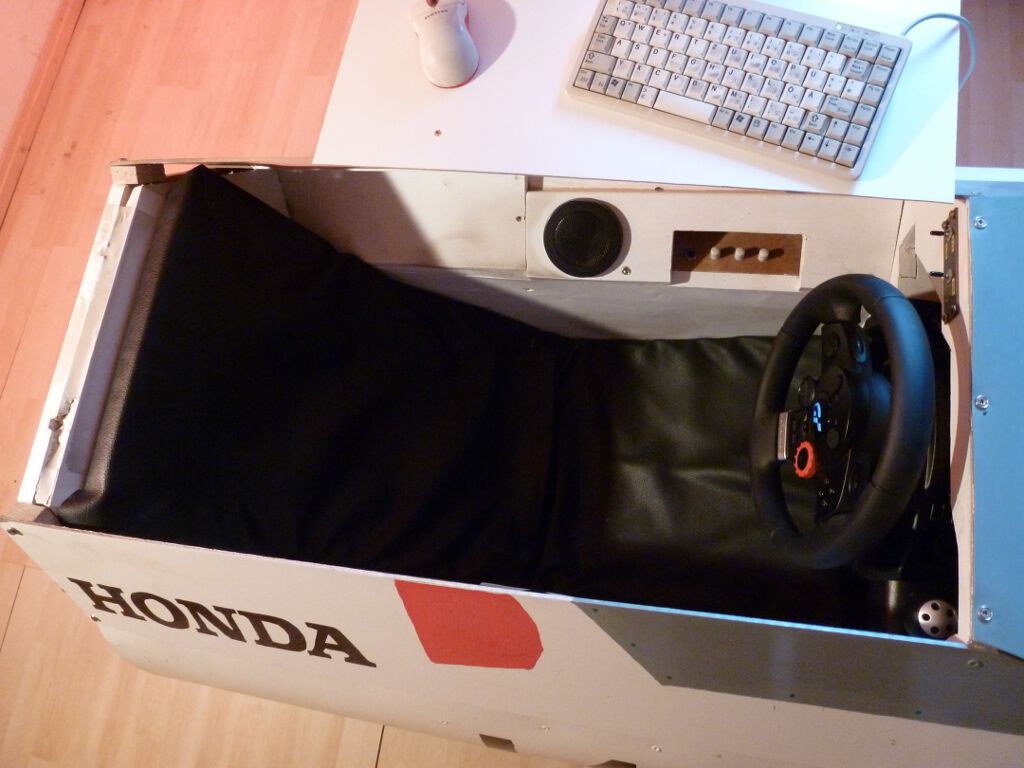
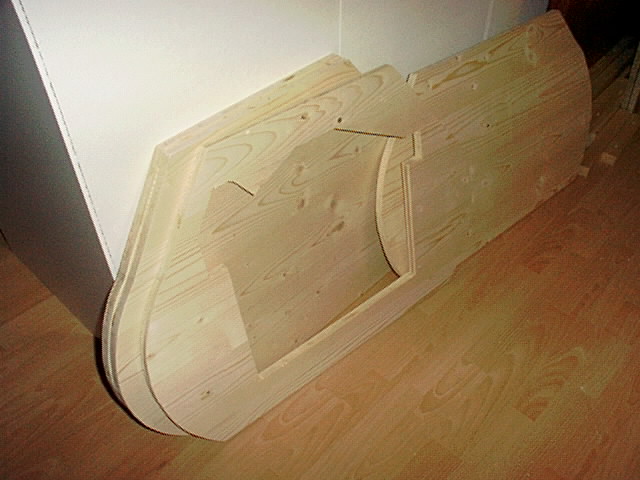
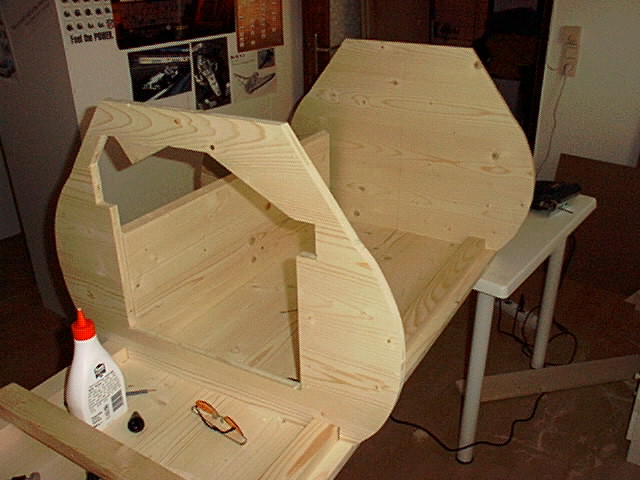
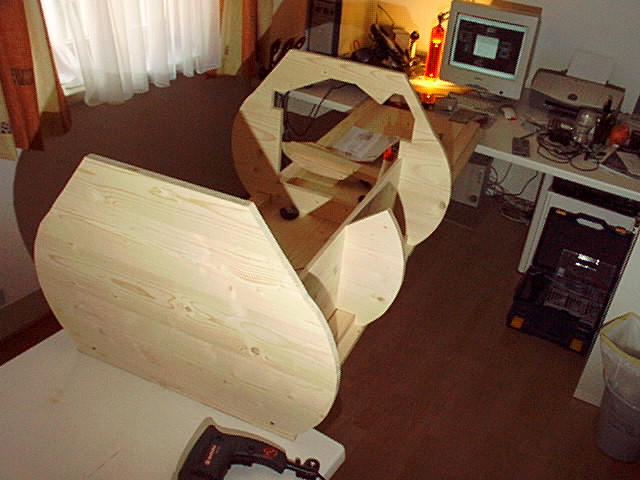
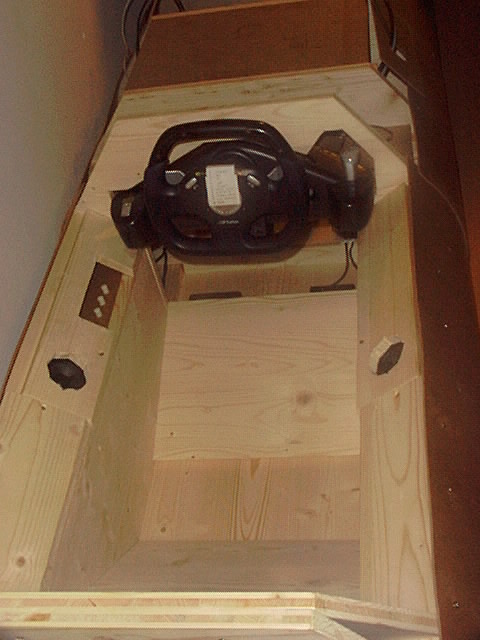
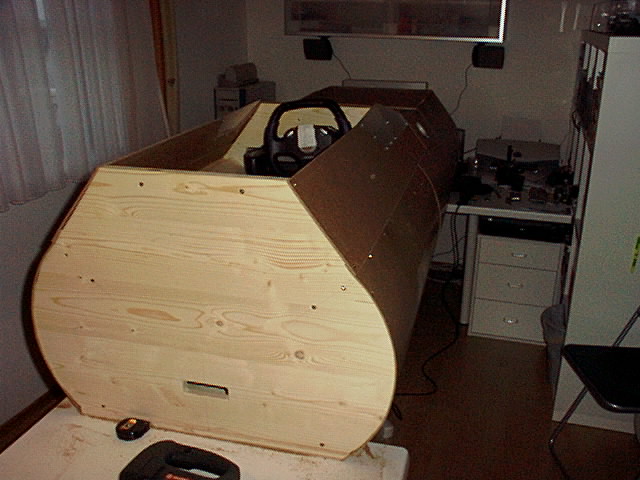
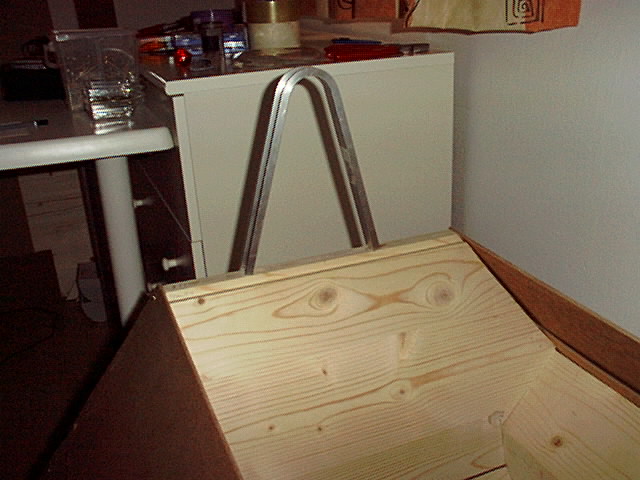
The construction of the cockpit would follow the construction of a plane. Take a floor plate mount some vertical frames and cover the whole thing with something thin and flexible. The following pictures show what was done on day1. The vertical frames were cut and then the mounting began. In the evening the seat is half finsihed, the subwoofer behind the driver is installed and the frame for the wheel is allready there.

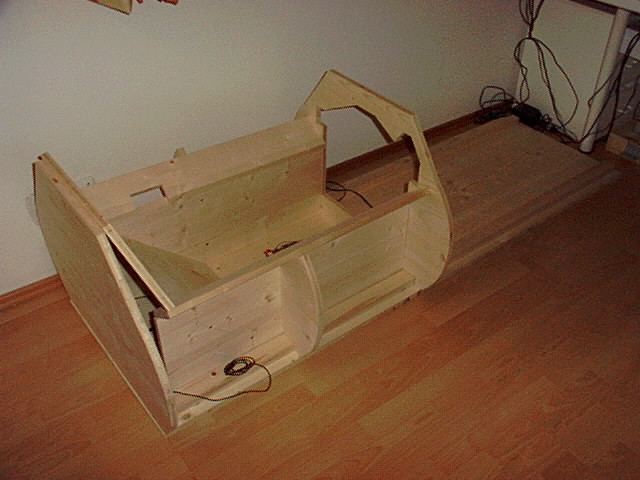
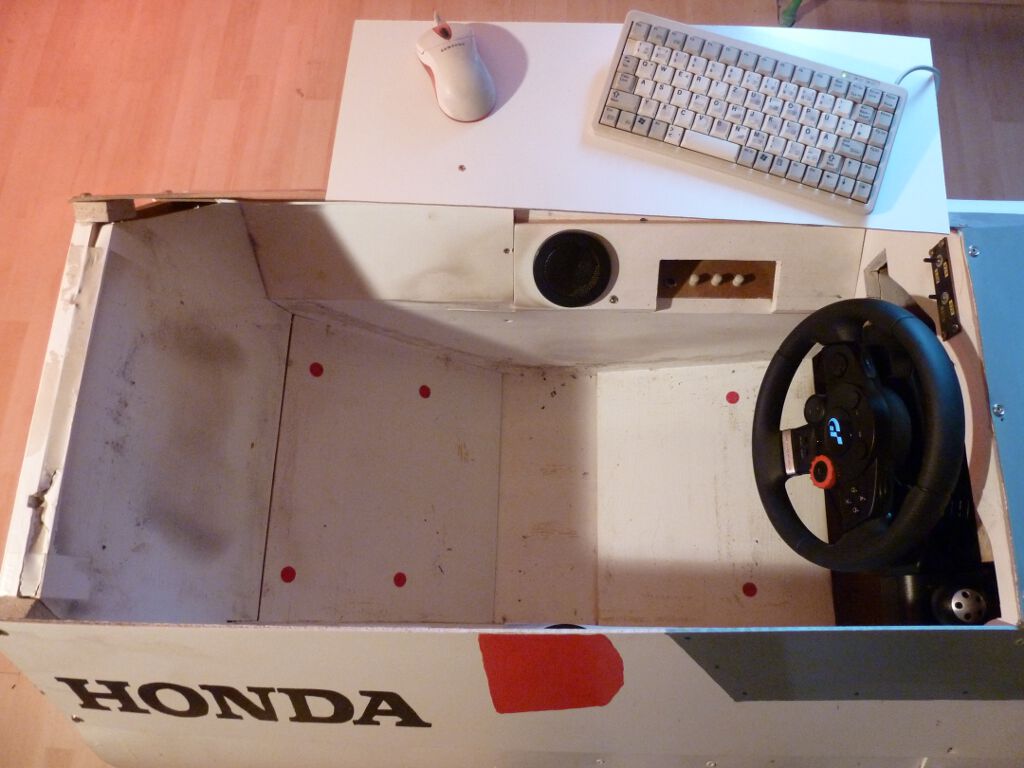
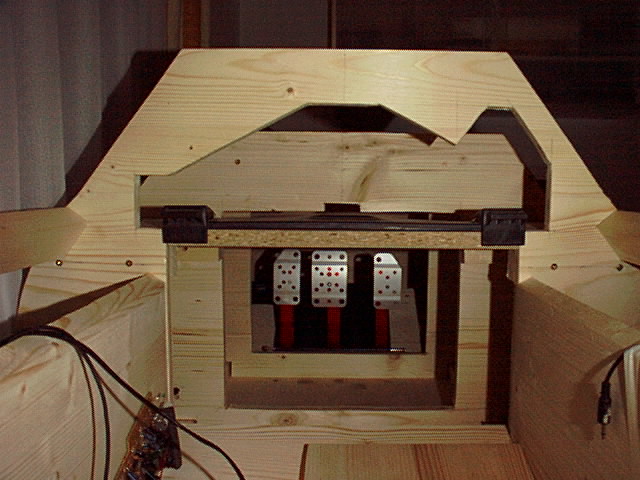
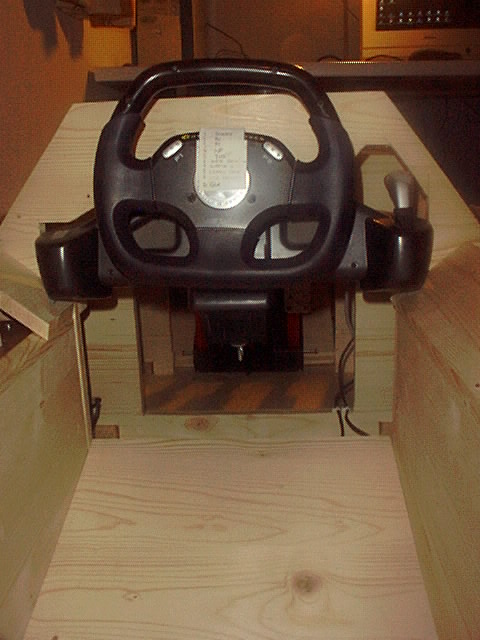
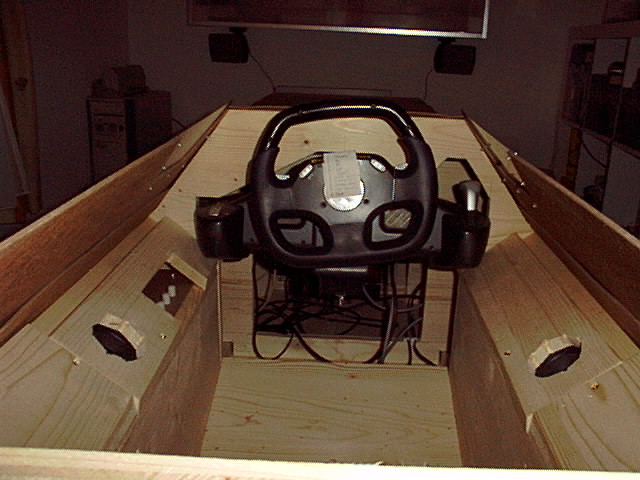
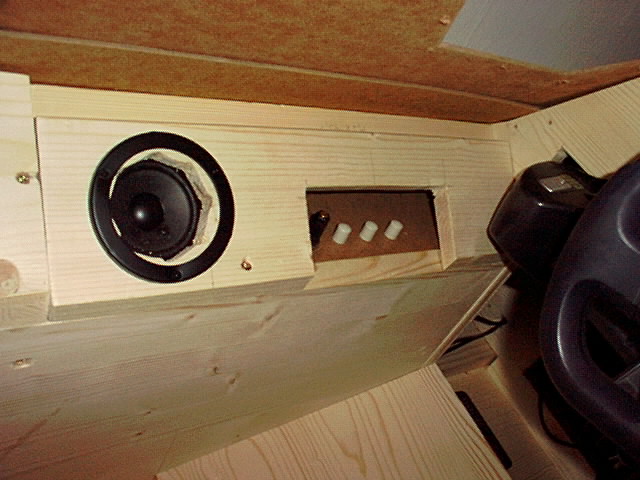
On the second day the other frames came into place, the speakers and the amplifier got their place in the cockpit, the wheel and the pedals where mounted to test position and the monitor stand is ready. And in the evening i started to cover the nose.


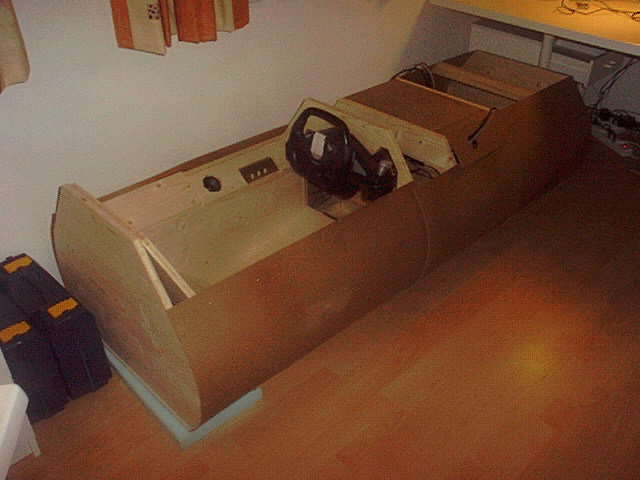
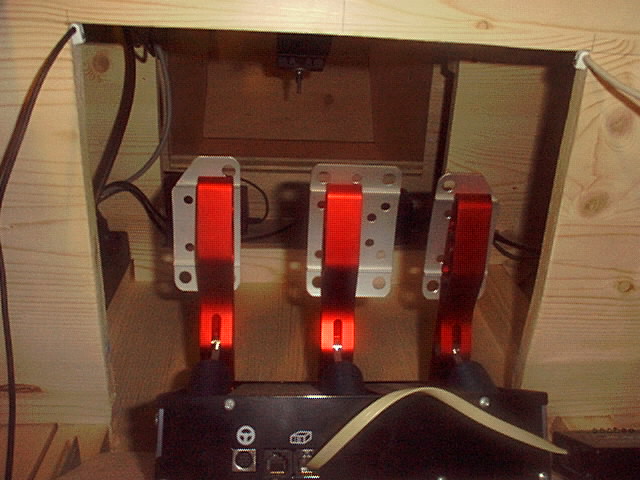
The third day was hard work all along. The panels would not bend easily into their position and screws would not hold it there. The other thing this day was all the cables that had to be brought into place (as you can see in the fourth picture). And i had to resolder the speaker plugs on the amplifier, because they were broken.


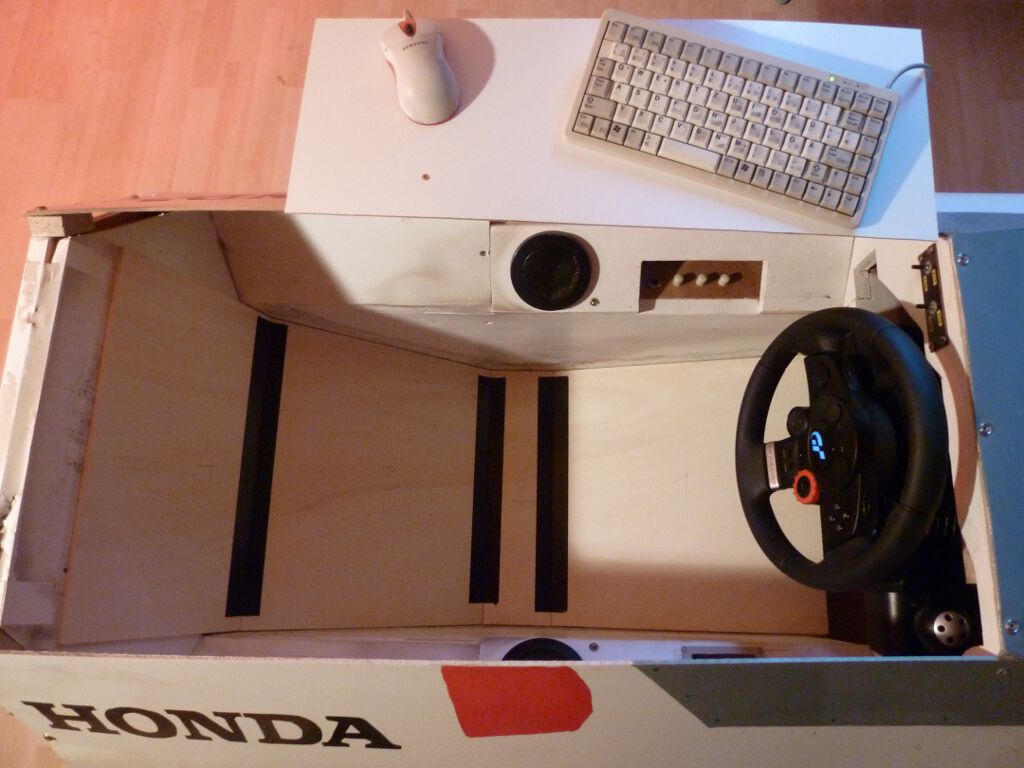
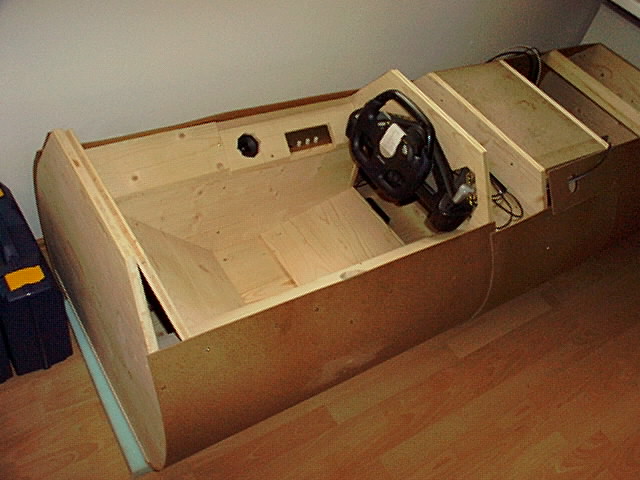
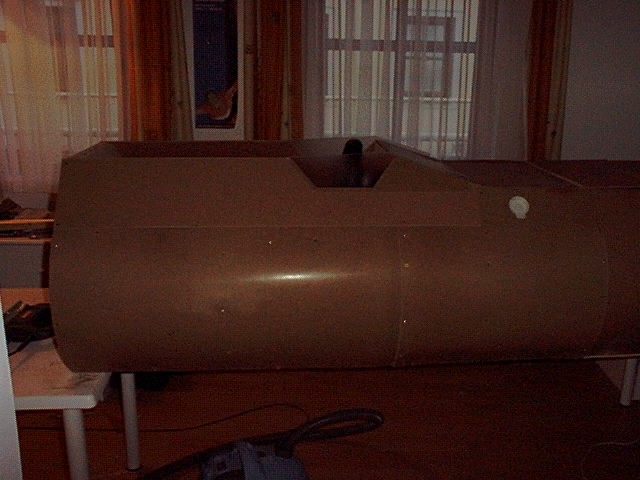
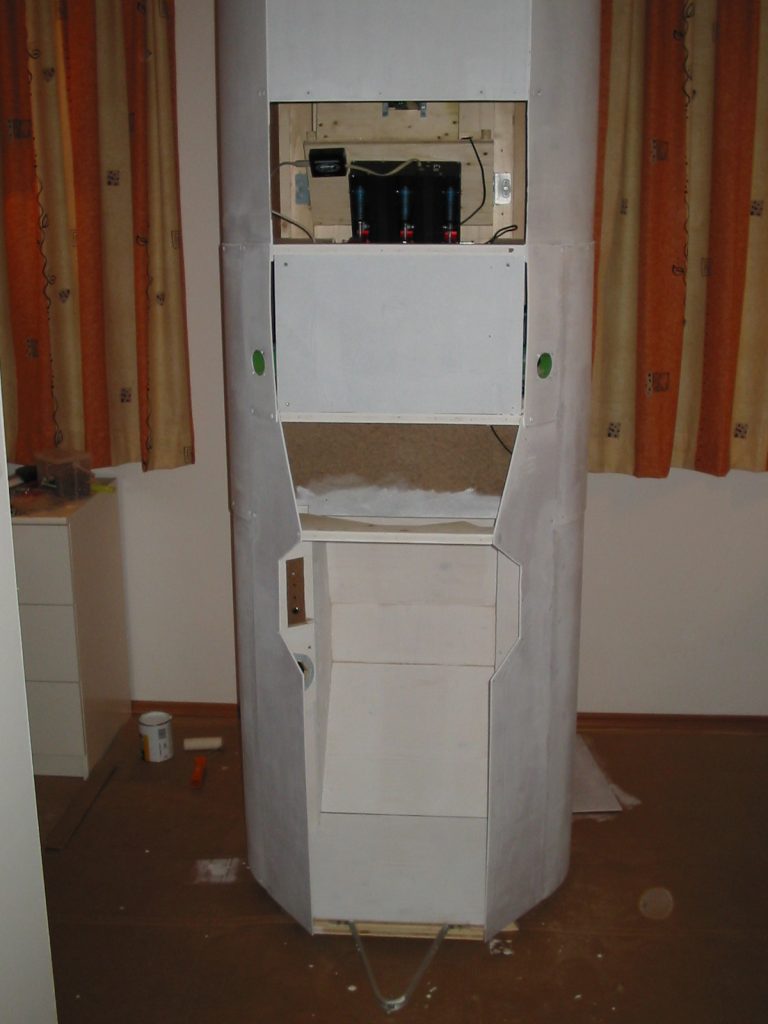
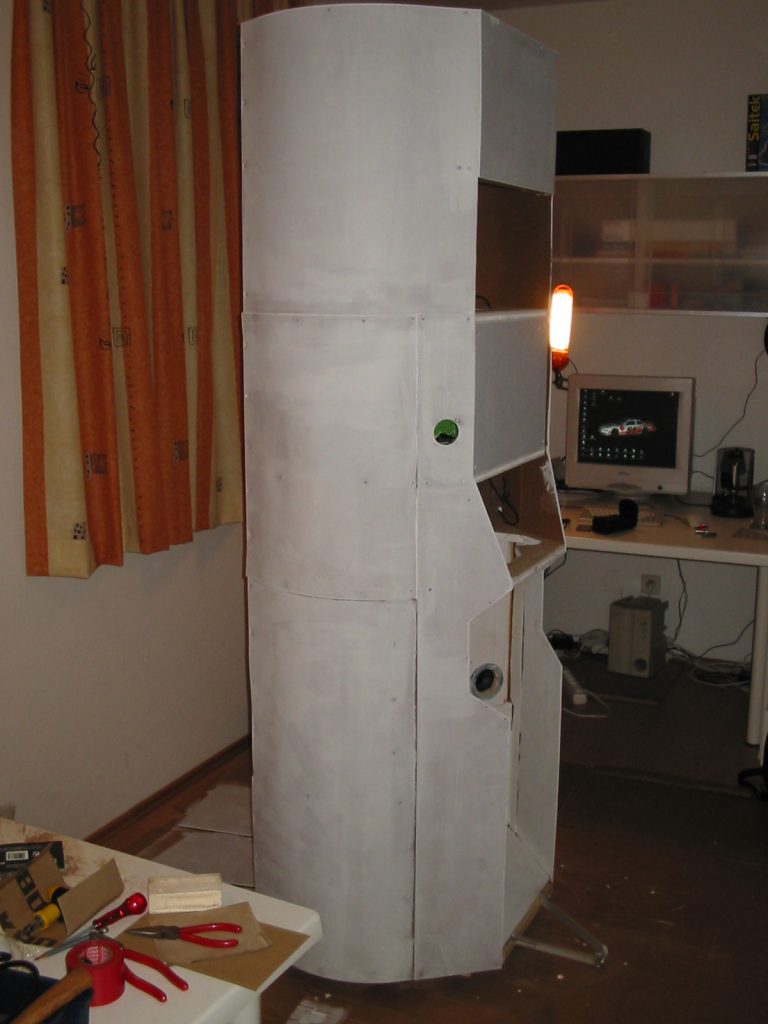
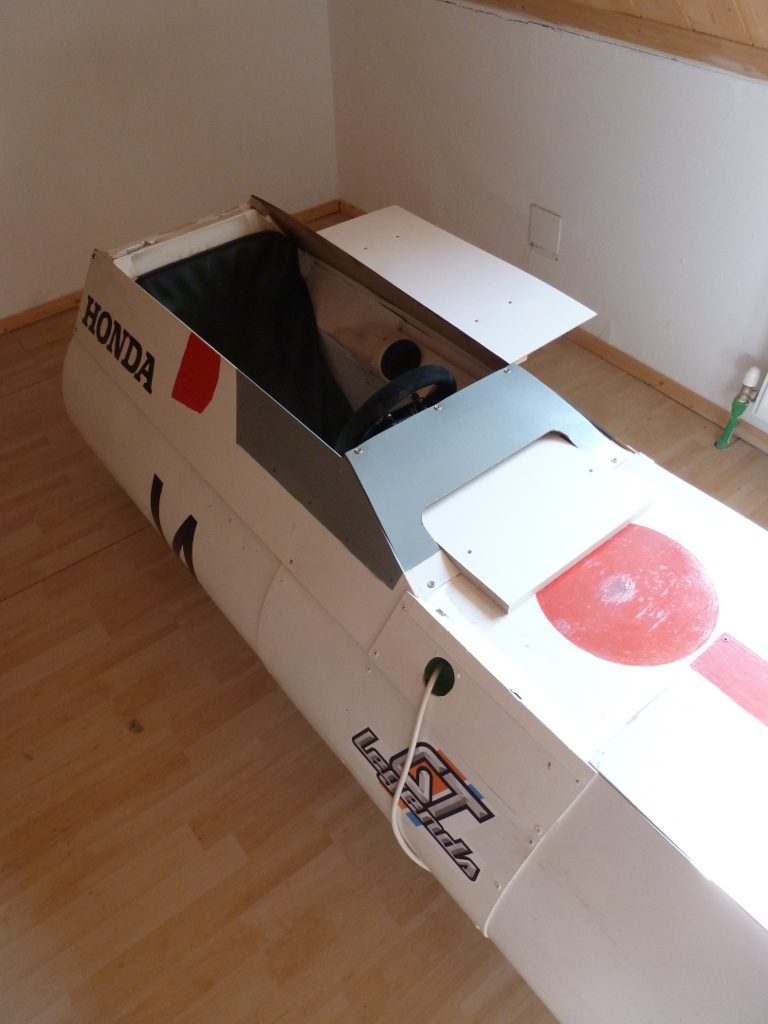
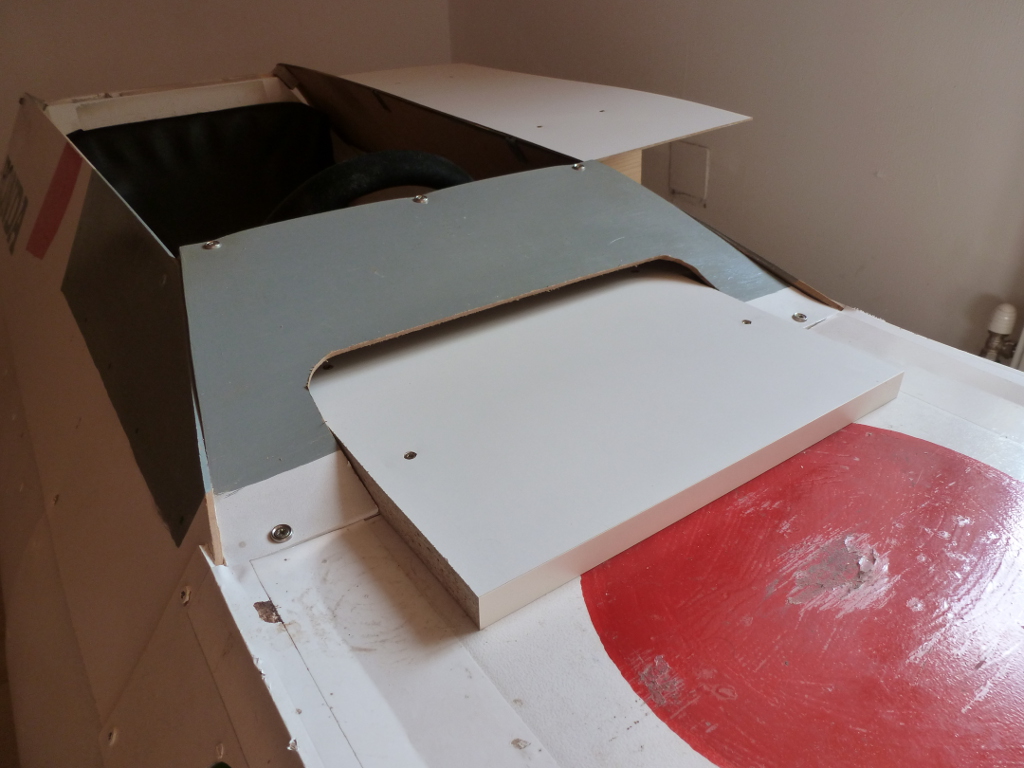
The fuel intake (the place to get all the cables into the cockpit) was done on the fourth day. Also the last panels where brought into place and i finally got a look on the finished shape of the cockpit.


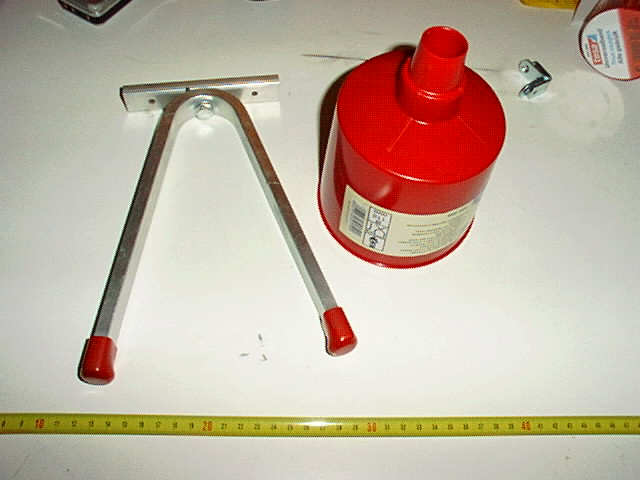
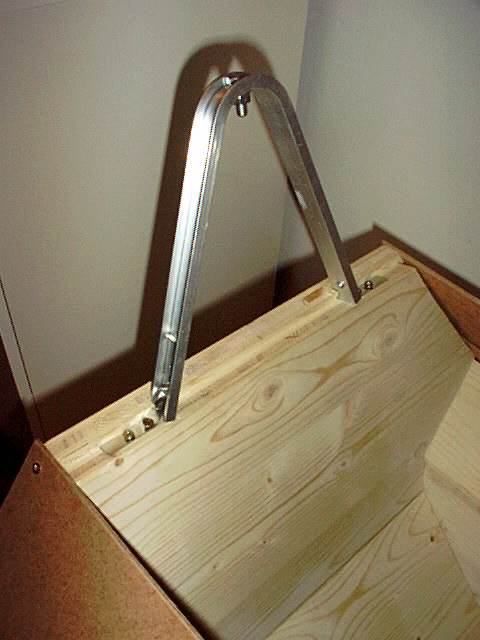
On day4.1 (not weekend but workday so i only had a few hours to work on the cockpit hence 4.1) i found myself pieces for the rollbar and the mirrors (yes that red thing).

On day4.2 the rollbar was installed, the mirrors went through planning phase and i got the covers for the speakers (in the foto you can only see the frame not the grill itself).

On day4.3 i started PAINTING. First i had to sand all panels, then i apllied a layer of primer and then i waited …(actually i went sleeping).
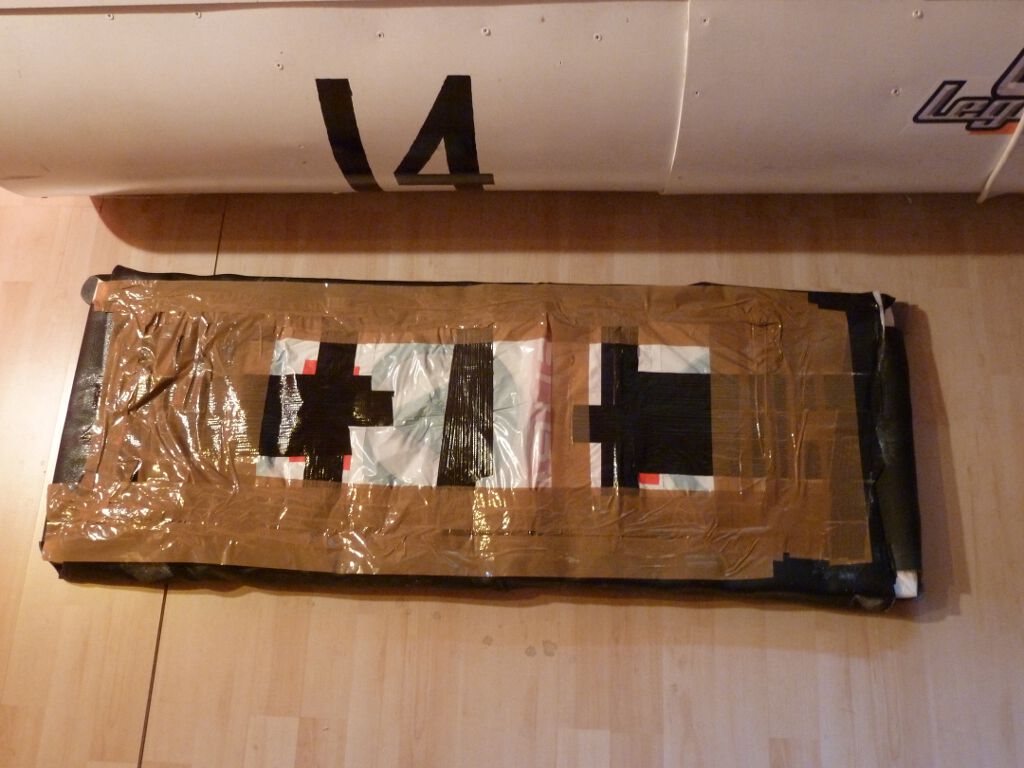
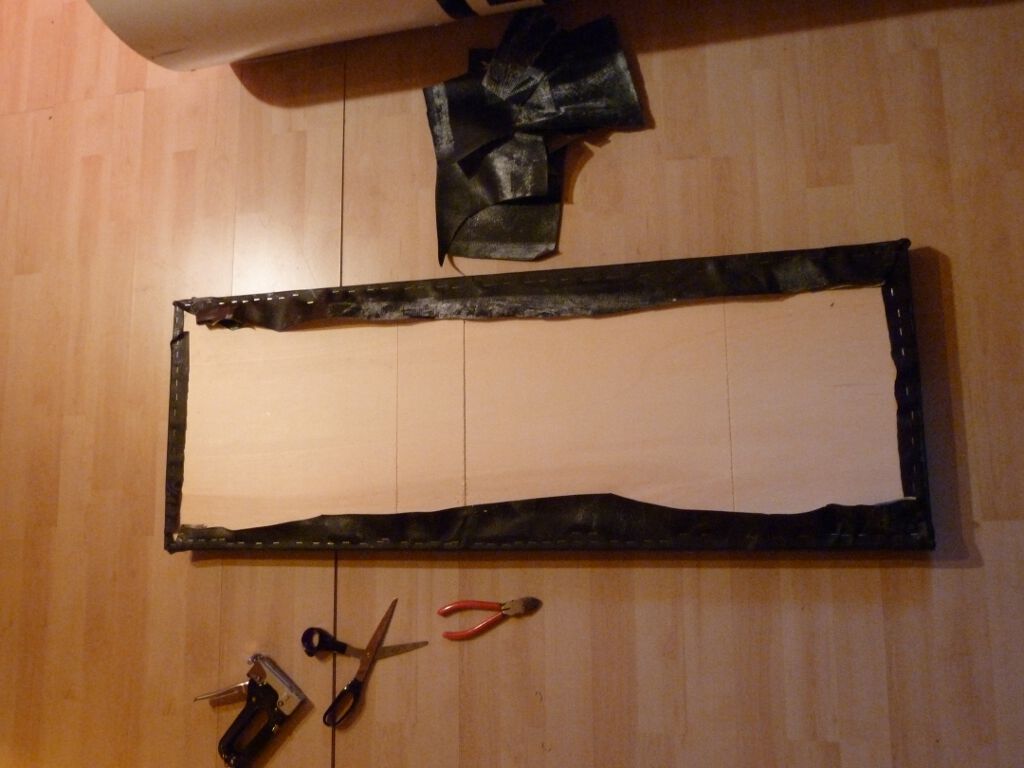
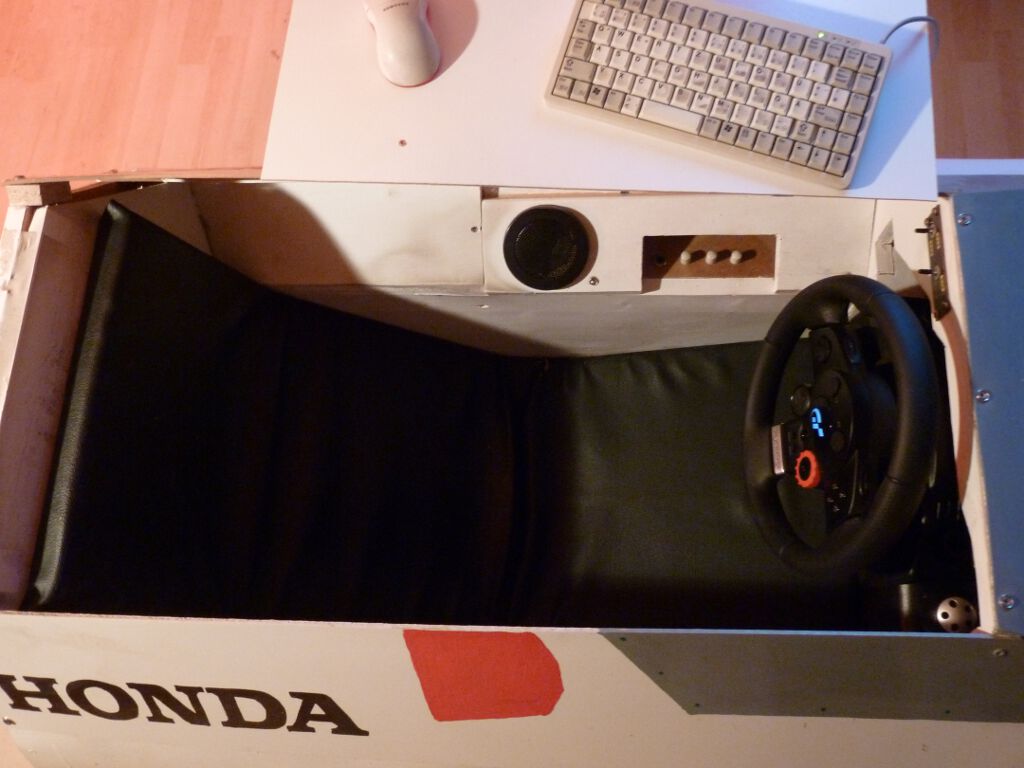
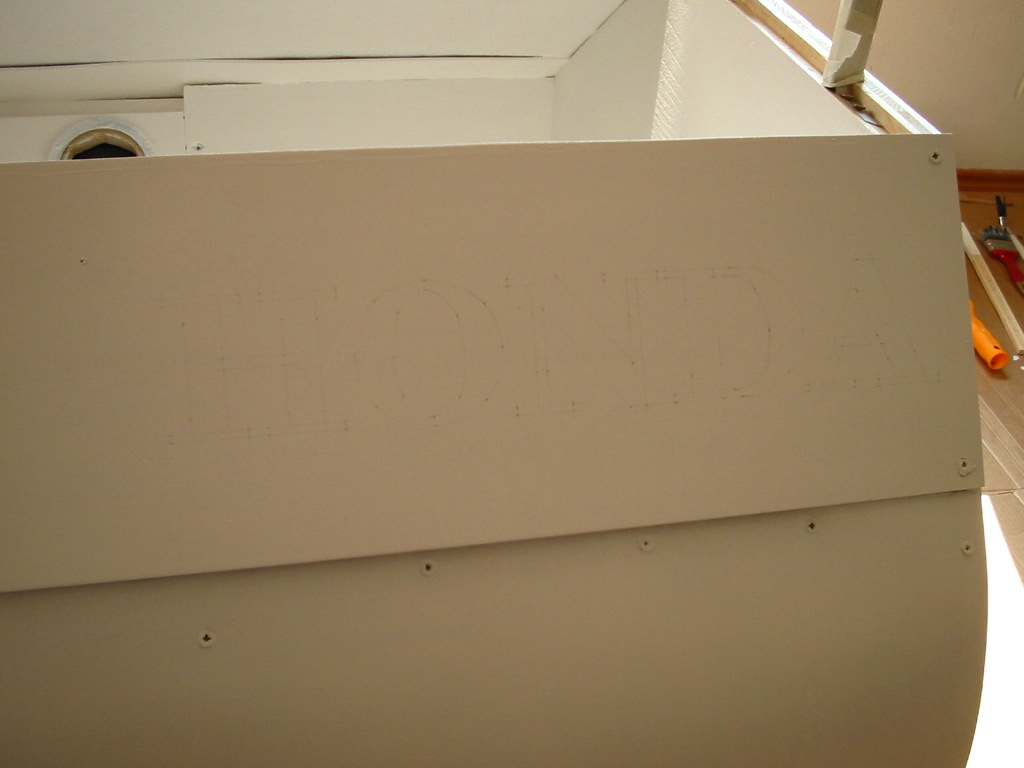
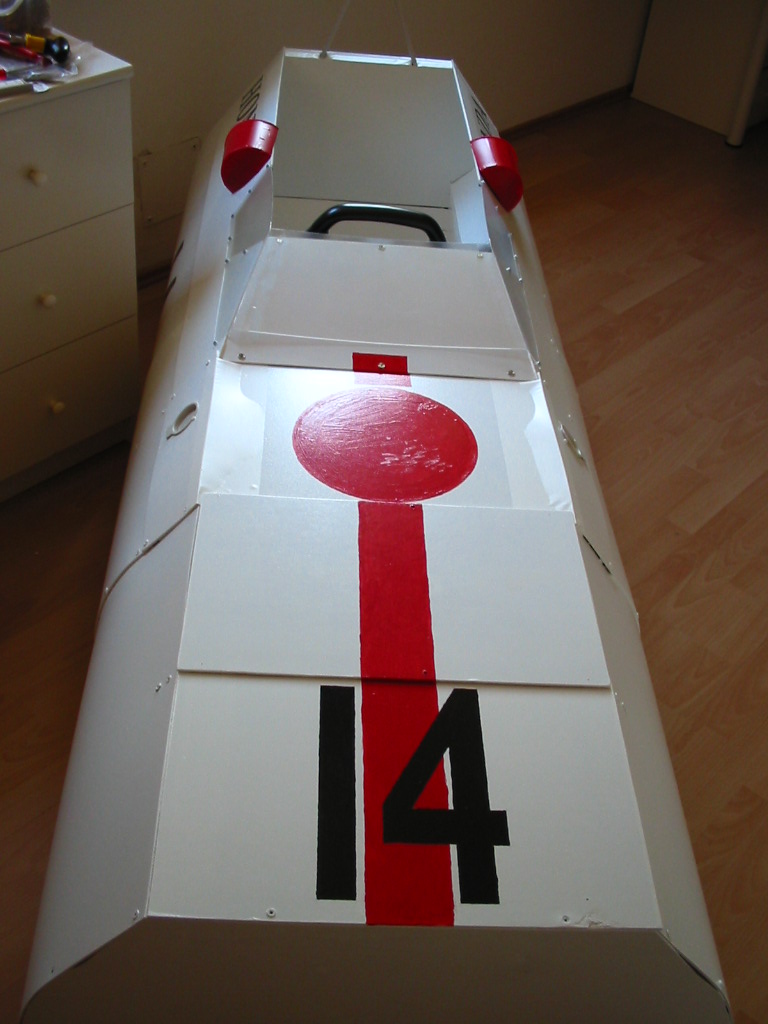
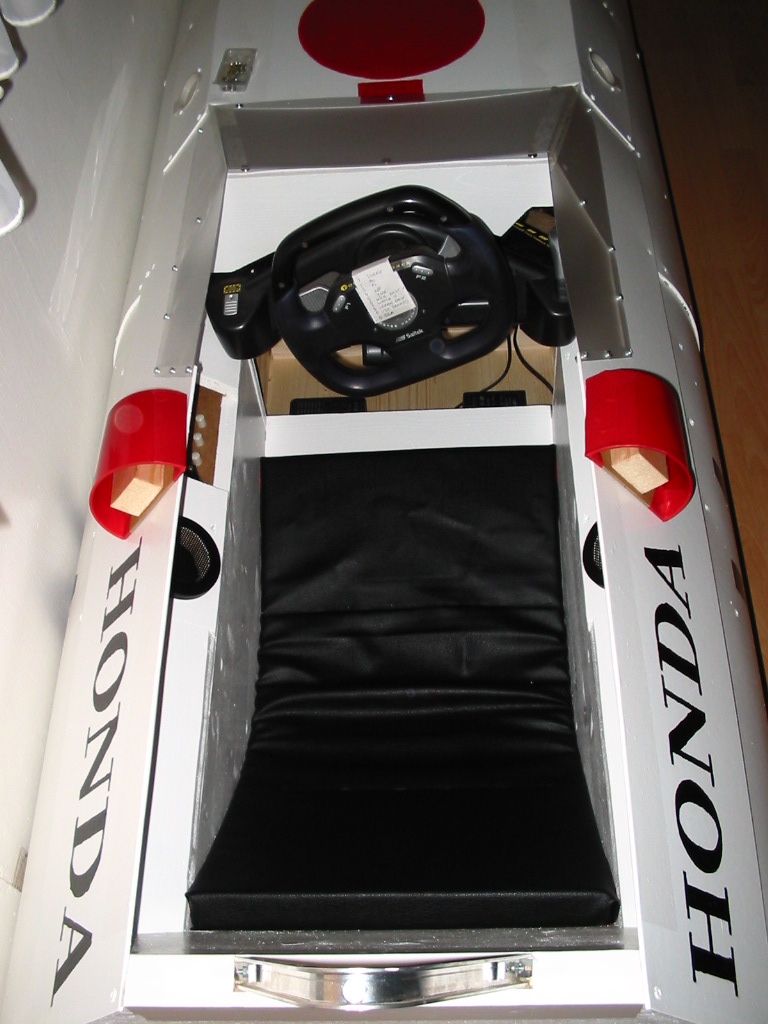
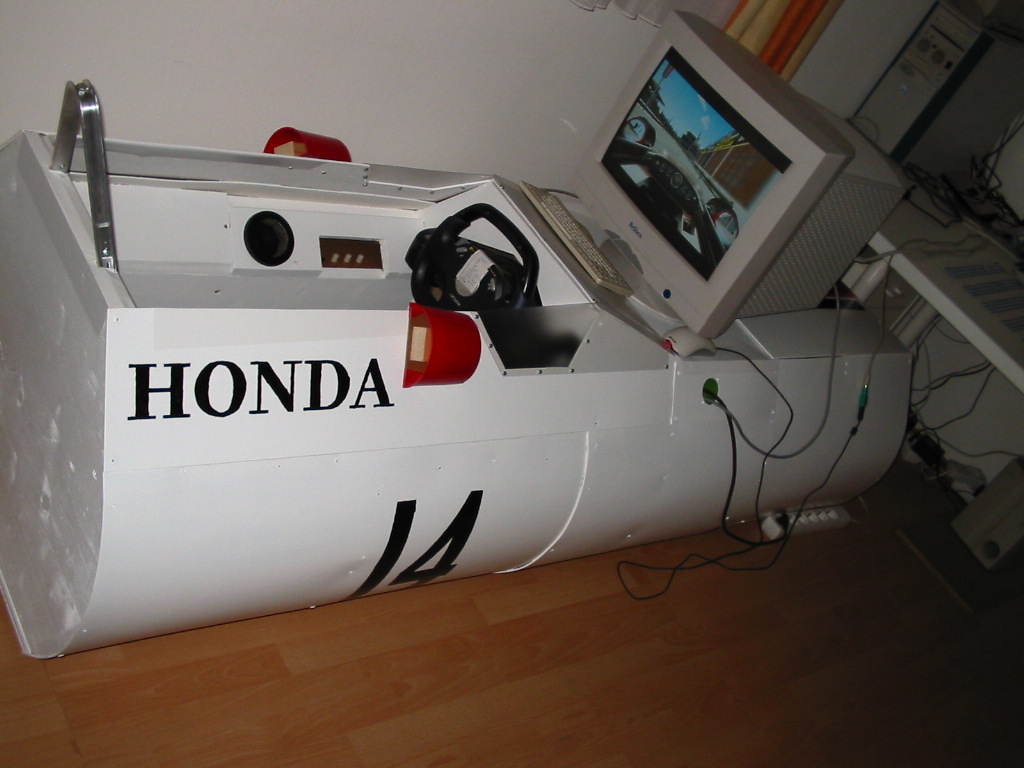
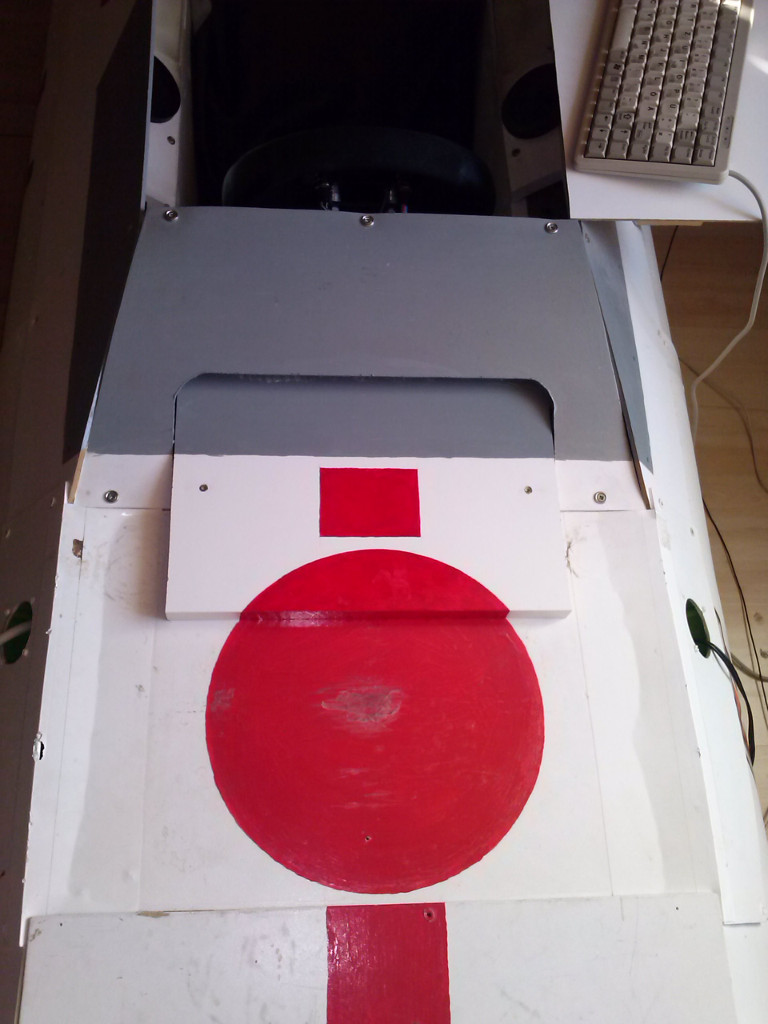
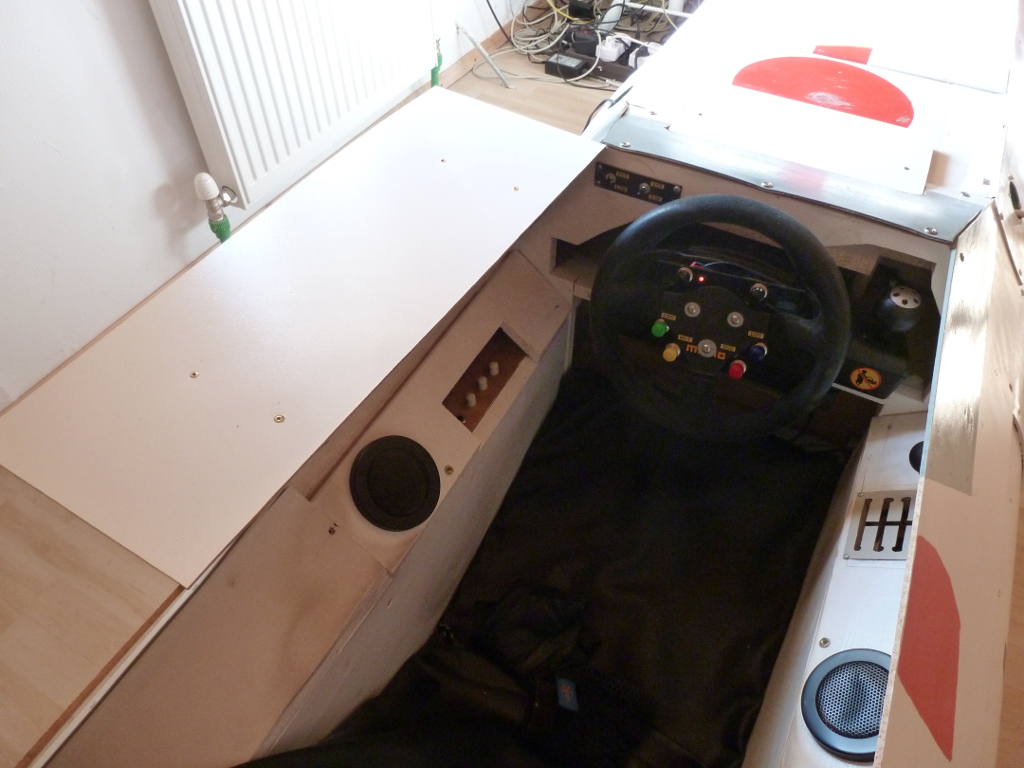
After applying two layers of white paint on day4.4, i finally could start with the decals on the cockpit. The red stripe was not too dificult, the red circle is where the monitor will stand in the end. The numbers and the HONDA decal where printed out, then i took a needle and tacked trough the paper and finally redrew the decals on the panels (as you can see in the third picture). Then i installed the mirrors, the windshield and the speaker grills. Foil was used on the fuel intakes, the rollbar and the sidepanels to prevent the paint from breaking. The leather seat is made of foam from the old cockpit and is secured by velcro pads. The thing that is missing is some mirror foil on the mirrors, couldn’t get hold of one till now. And a keyboard and mouse stand would be nice soemwhere 🙂 but everything else is READY FOR RACING.


I would like to thank the people that inspired and helped me in building this:
Mark Huxford, his wonderful cockpit and the cut away drawing of the lotus cockpit got me going.
Michael Deegan, for the idea on how to construct a gpl cockpit.
Larry Hill, for giving me this wonderfull lotus plans, without them the seat wouldnt have been possible as detailed and accurate it is now.
And finally Mark Langille, who was very helpfull with his advice on the rollbar.
Updates:
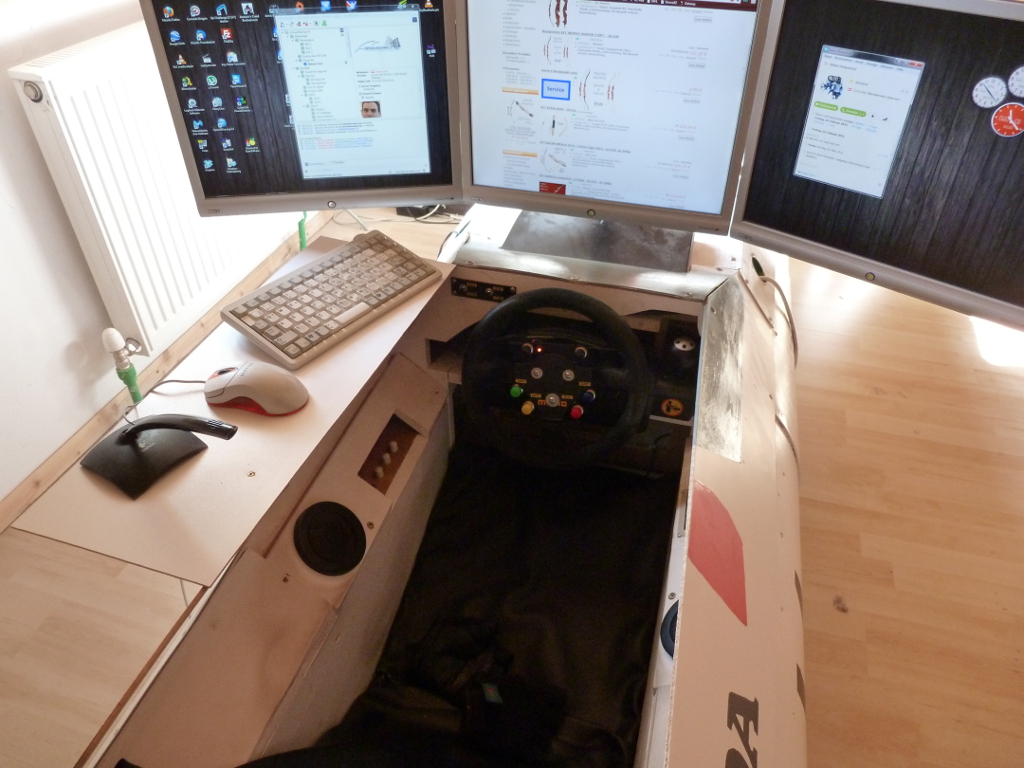
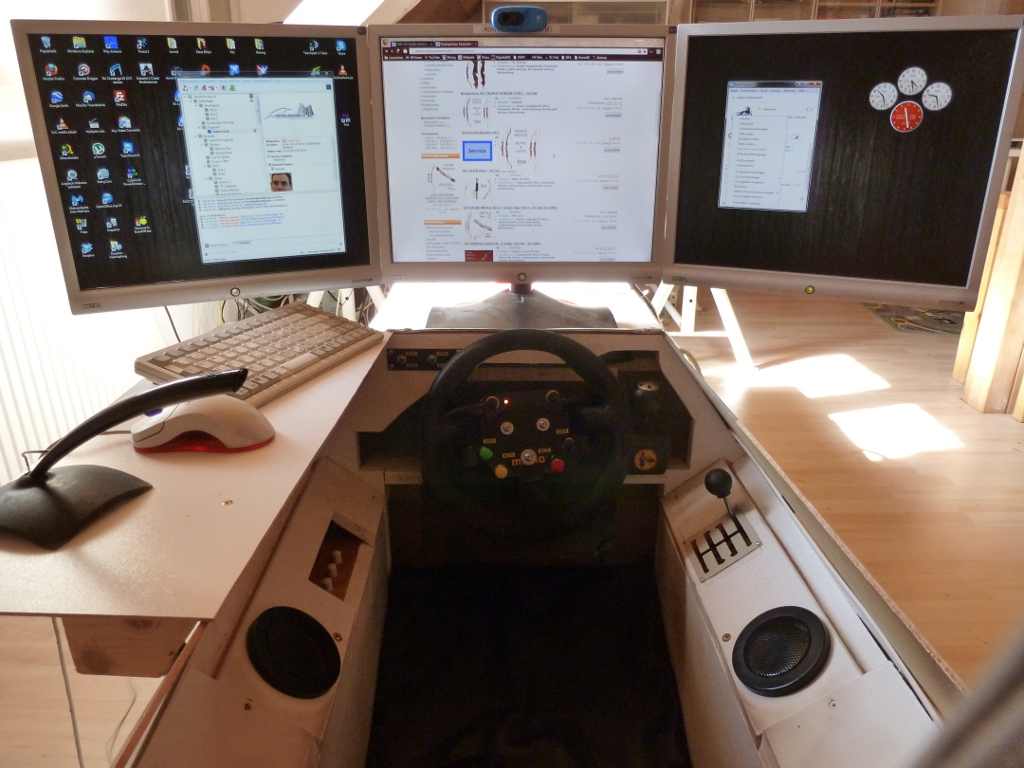
Times have moved on since the first build, still with a CRT monitor. Now I’m racing on a triple head configuration, which results in a bigger field of view. Since wheel units got smaller and smaller over the years, I could move the screens closer to the driver, resulting in an even wider and better view.
The seat cushion needed an update (again). This time I opted for a plywood reinforced seat cushion. Up till now it had only been a plastic foil backing with lots of tape.